Wondering how to make your own flashcards?
If you’re in a hurry, a packet of index cards and a few highlighter pens may do the job.
But if you want some custom flashcards you can use again and again, going digital is best.
Read on to find out how to make your own flashcards using Microsoft Word, Canva and other design software…

What is a flashcard?
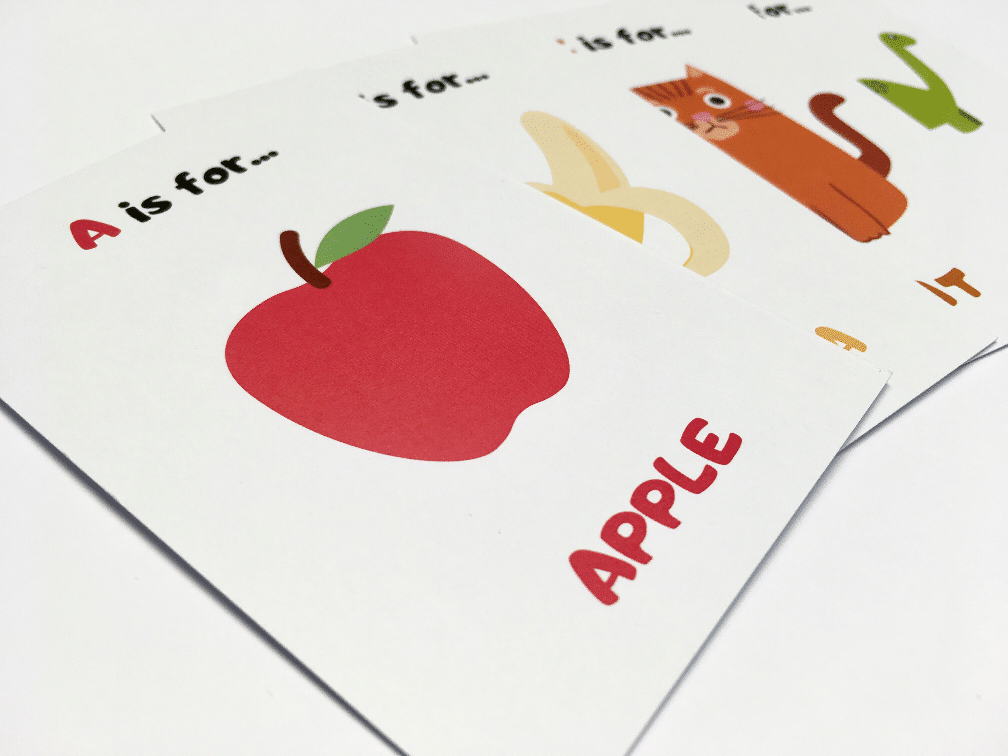
A flashcard is a small card used for educational purposes. They typically contain short bite-size information or take a question and answer approach.
From teaching a toddler topics such as words and numbers, to studying for an important exam – they are a useful study aid that help improve memory and information recall.
They are usually small in size (e.g. A6 or A7 paper size) and printed on rigid card to improve durability.
What are the benefits of flashcards?
Flashcards help people to learn and retain useful information. Through repetitive study, an individual can improve their memory and recall on a topic of their choice.
They are suitable for all ages, from infants to adult learners. They can be used alone, or with another person who acts as the questioner.
Their compact and portable nature makes them ideal for studying on the move, e.g. at home, in class, on a train or flight etc.
Flashcard topics
Flashcards can be created for any topic. From simple primary learning to foreign phrases, military history, chemical equations and everything in between!
Common topics include:
Early years:
Letters/alphabet
Words
Numbers
Animals
Colours
Objects
Places
Food
Education:
Phonics
Maths – multiplication/times tables etc.
Facts
Flags
Historical dates
Equations
Quotes
Foreign language phrases
Spelling
Keywords and definitions
Industry specific terminology
How to make flashcards
Firstly, decide on the size of your flashcard.
A few dimensions are shown below for guidance:
A7 74 x 105 mm (1/8 of an A4 sheet)
A6 105 x 148 mm (1/4 of an A4 sheet)
Small Card 55 x 85 mm (aka ‘business card’ size)
105 mm Square 105 x 105 mm
148 mm Square 148 x 148 mm
Secondly, consider the content matter of your flashcards. Will you take a Q and A approach, or simply showcase key information?
Thirdly, what style do you have in mind? Will you include text and images alongside each other, or just one of these?
If you are including images, where will you source them? Will they be clipart, illustrations, photos etc?
How To Make Flashcards On Microsoft Word
1. Launch Microsoft Word and click ‘Page Layout’ > ‘Size’
2. Choose a default size from the dropdown menu or click ‘More Paper Sizes’ to add a custom paper size or standard size that isn’t listed
3. Specify the desired width and height of your flashcards
4. Click ‘OK’ and return to your document
5. To make the most of the available space, you may wish to adjust the page margins. Do this using the ‘Page Layout’ > ‘Margins’ option.
6. Add content to your flashcards.
If you want to print your flashcards single sided, each flashcard will only take up 1 page.
However if you want to print each card on both sides (double sided, which is most common), each flash card will take up 2 pages.
In which case, paginate the document as follows: page 1/2 is your 1st flashcard, page 3/4 is your 2nd flashcard, page 5/6 is your 3rd flashcard and so on.
To view your flashcards in pairs, click ‘View’ > ‘Multiple Pages’

7. When complete, click ‘File’ > ‘Export’ > ‘Create PDF’
8. You can then upload the PDF to Doxzoo.com and print your flashcards
How To Make Flashcards on Canva
1. Go to Canva.com and log in or sign up for a free account
2. Click ‘custom dimensions’ and specify the desired page size
3. Use the Canva tools to create your flashcards – start by adding a background colour, then text and images as required.
4. Add a new page using the ‘Add a new page’ option
5. Duplicate a page using the ‘Copy page’ icon shown in the top right corner of each page

6. When complete, click ‘Publish’ > ‘Download’ > ‘File type: PDF Print’ > Tick ‘Crop marks and bleed’ > ‘Download’
7. You can then upload the PDF to Doxzoo.com and print your flashcards
Design Software
1. Set-up your page dimensions to match the desired print size
2. Design your flashcards using the options available

3. Export to PDF and configure the bleed and crop mark settings
4. Merge the individual page PDFs together into a continuous document
5. You can then upload the PDF to Doxzoo.com and print your flashcards
Printing your flashcards
Before printing your flashcards, consider the following:
Product type
Standard flashcards – printed on paper/card (we recommend 300/350 gsm)
Laminated flashcards – printed on paper/card and laminated with a thin plastic film
Encapsulated flashcards – printed on paper and encased in durable and waterproof plastic
Synthetic flashcards – printed on waterproof and tearproof plastic paper sheets
Flashcard size
The print size should match the design dimensions.
E.g. if you’ve designed an A6 flashcard, select A6 paper size.
Paper type
For standard and laminated flashcards, you can choose between 3 paper types and a wide selection of paper thicknesses.
Matt – standard home/office paper
Silk – a semi-shiny paper stock which is a middle ground between matt and gloss
Gloss – shiny paper that reflects the light, ideal for photo based flashcards
We recommend 300 or 350 gsm card for flashcards, as it will offer the best durability.
Ready to print your flashcards?
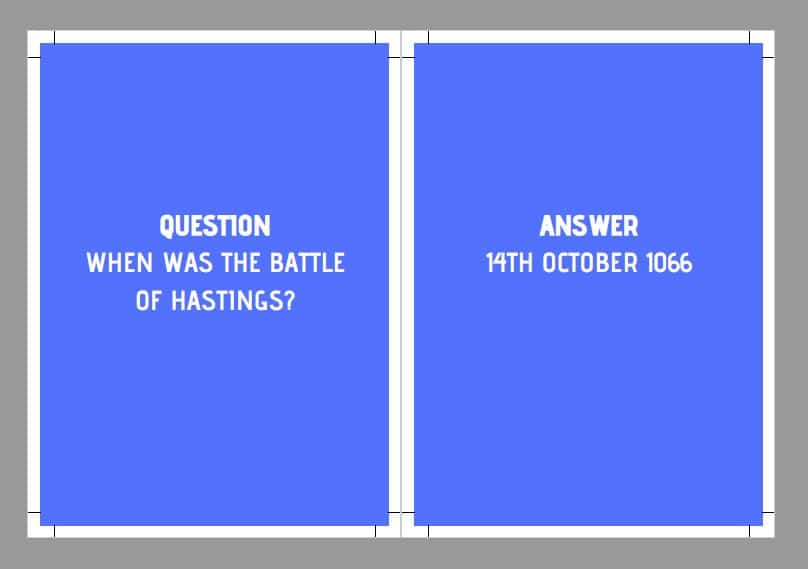
Check your PDF artwork is correct and if possible, add bleed and crop marks for edge to edge printing.
Example PDF with crop marks and bleed:

When you’re happy with your PDF, click here to upload your file and place your order.
Source: blog.doxzoo.com

